The workflow at a glance
The Size AI Photo Studio workflow is the same five steps every time: capture, generate, select, refine, export. Total time per garment: about 90 seconds.
This is the playbook. The exact model choices, the angle defaults, and the per-category settings that consistently convert across brand stores and marketplaces.
Capture once, generate everything. The single biggest workflow shift is photographing the garment exactly once, then letting AI Photo Studio produce ghost mannequin shots, model shots, and TrueShape product images from the same source.
Step 1: Capture once, generate everything
The single biggest workflow shift is that you only photograph the garment once. Lay it flat, capture with Size AI, and the same photo becomes the source for ghost mannequin shots, model shots, and TrueShape product images.
Most brands we work with were running 4-shot setups (front, back, detail, on-model). Photo Studio collapses all four into one 0.92-second flat-lay. Time saved per garment: 6-8 minutes.
For the capture-side best practices (lighting, surface, angle), see the Capture Guide.
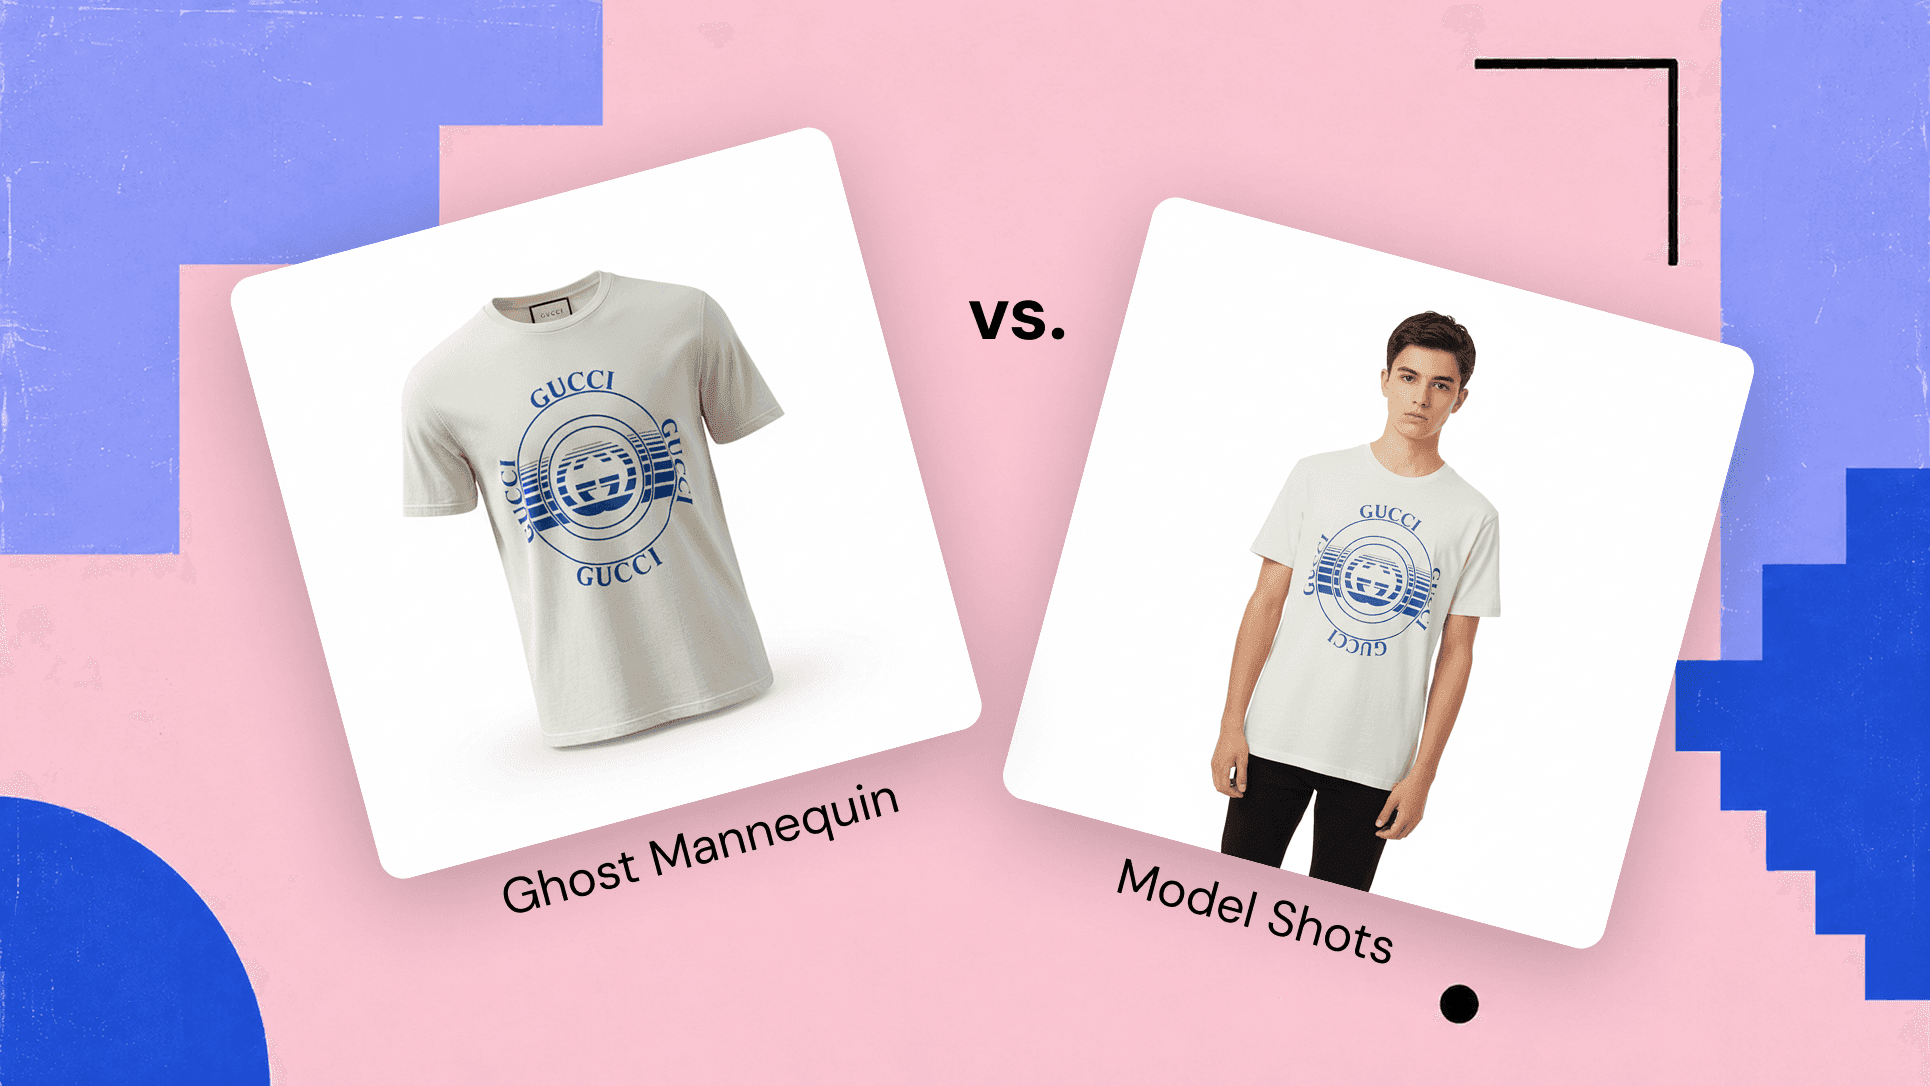
Step 2: Generate ghost mannequin first
Lead with ghost mannequin. The earlier post on conversion testing covers why: across 7 of 9 garment categories, ghost mannequin shots beat model shots on conversion. The exceptions (dresses, activewear) lead with model shots instead.
In Photo Studio:
- Front view. Default for the cover image. Always generate.
- Three-quarter view. Generate if listing on Depop, Grailed, or any marketplace where shoppers swipe through photos.
- Side view. Generate for outerwear and structured garments. Skip for T-shirts.
Total generate time for all three angles: ~8-12 seconds.
Step 3: Generate model shots strategically
For most categories, model shots are images 2-3 (after the ghost mannequin cover). Two model-selection rules drive conversion:
Match the audience
If you sell men's denim, generate model shots on a male adult. If you sell kids' tees, generate on a child model. Photo Studio offers 10 demographic combinations (5 age ranges × 2 genders). The conversion data is clear that mismatched models hurt CTR.
One demographic, three angles
Brands trying to capture multiple demographics with multiple model shots dilute the listing. Pick the primary buyer demographic and generate three angles on the same model. Save the secondary demographic for a separate listing variant or a re-shoot.
Step 4: Refine before exporting
Photo Studio generates 3-5 variations per request. Two-thirds of brands skip this step. They shouldn't.
The variations differ in subtle but meaningful ways: lighting angle, model expression, garment fit on the AI model. Spend 30 seconds swiping through and pick the variation where:
- The garment's fabric reads as fabric (not as plastic)
- The model's posture matches the brand's voice (relaxed for casual, structured for formal)
- The lighting matches your other product photos
This is the editorial step. AI handles the generation. You handle the curation.
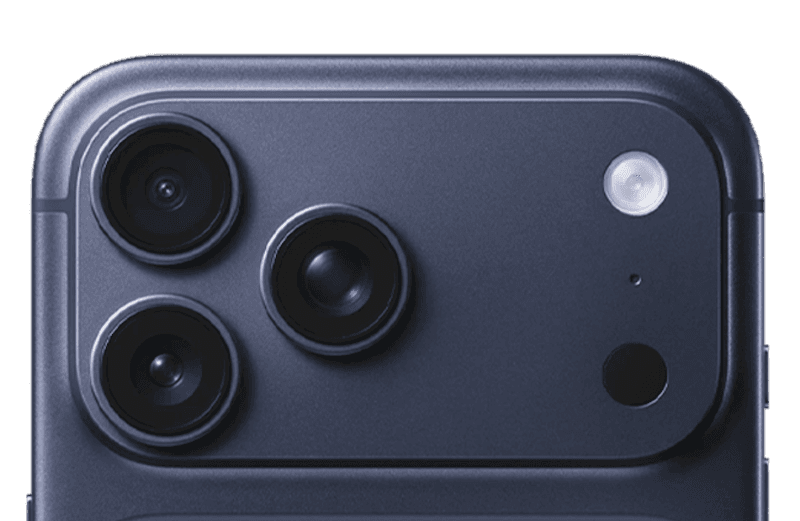
Step 5: Export with the right format
Photo Studio exports each shot at full resolution (matching iPhone 14 Pro's 12MP native). For listings:
- Shopify / brand store. Export at full resolution, let Shopify resize on the fly
- Depop / Poshmark. Export at 1080×1080, fits the platform's display ratio
- Grailed. Export at 1200×1500, the platform's native aspect for cover images
- eBay / Mercari. Full resolution, both support up to 12 images per listing
The Photo Studio export menu has presets for each platform.
Per-category playbook
Five categories where the defaults need adjusting:
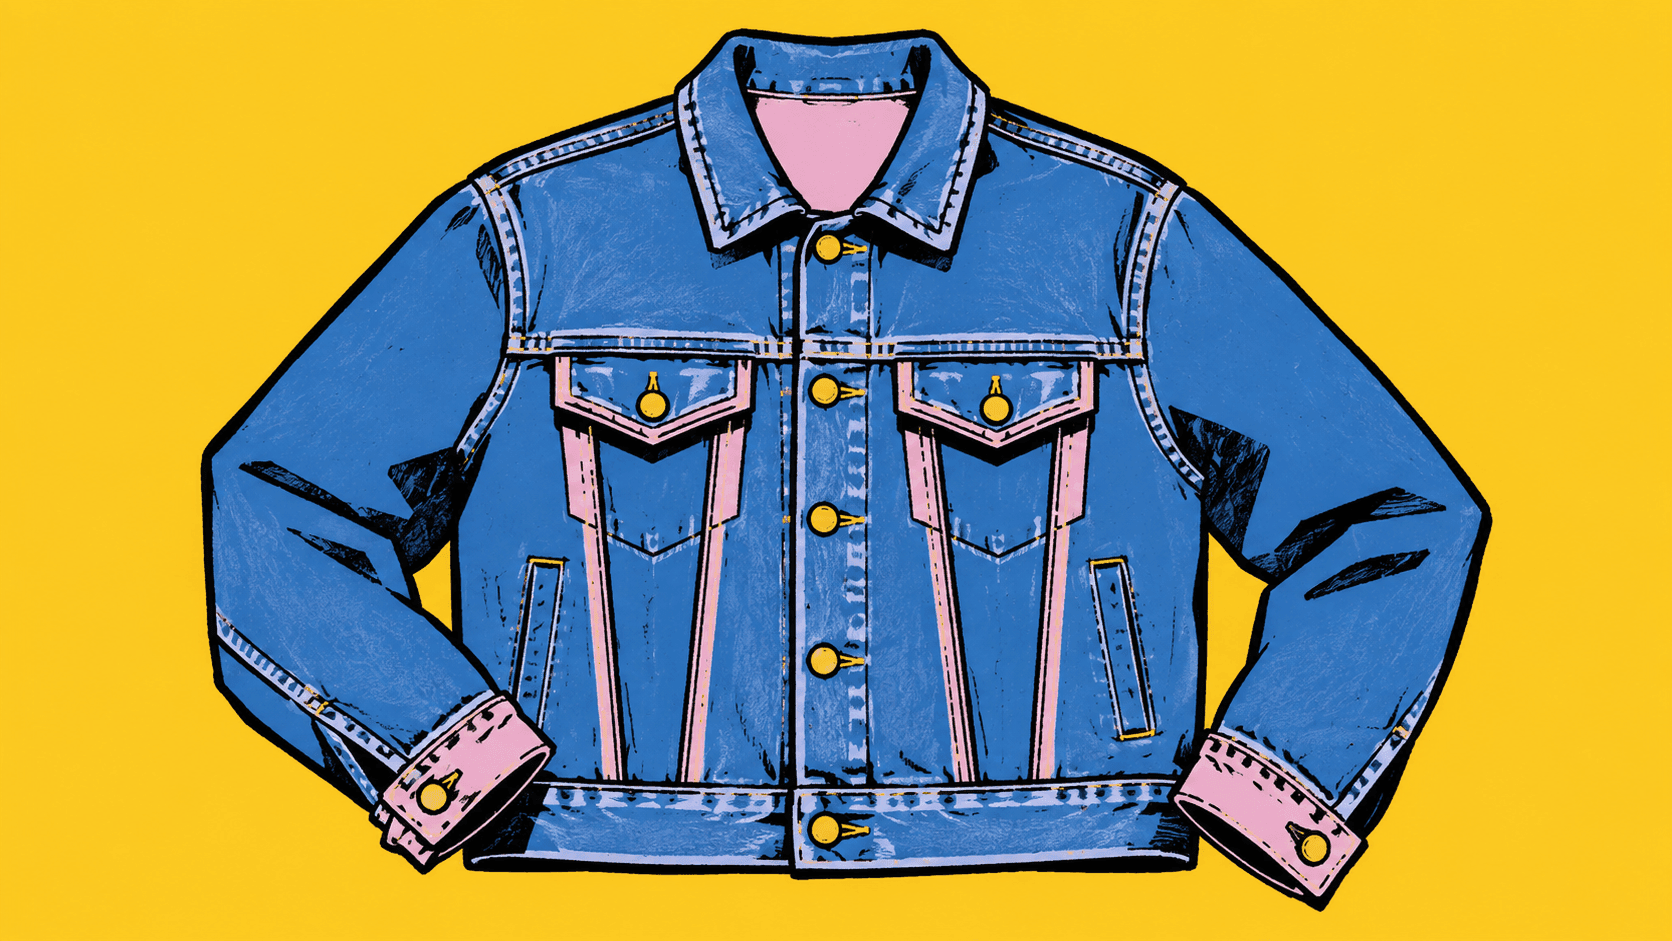
Outerwear
Lead ghost mannequin (front), then ghost mannequin (3/4), then a model shot for context. Three images, no detail shots. Outerwear converts on silhouette, not detail.
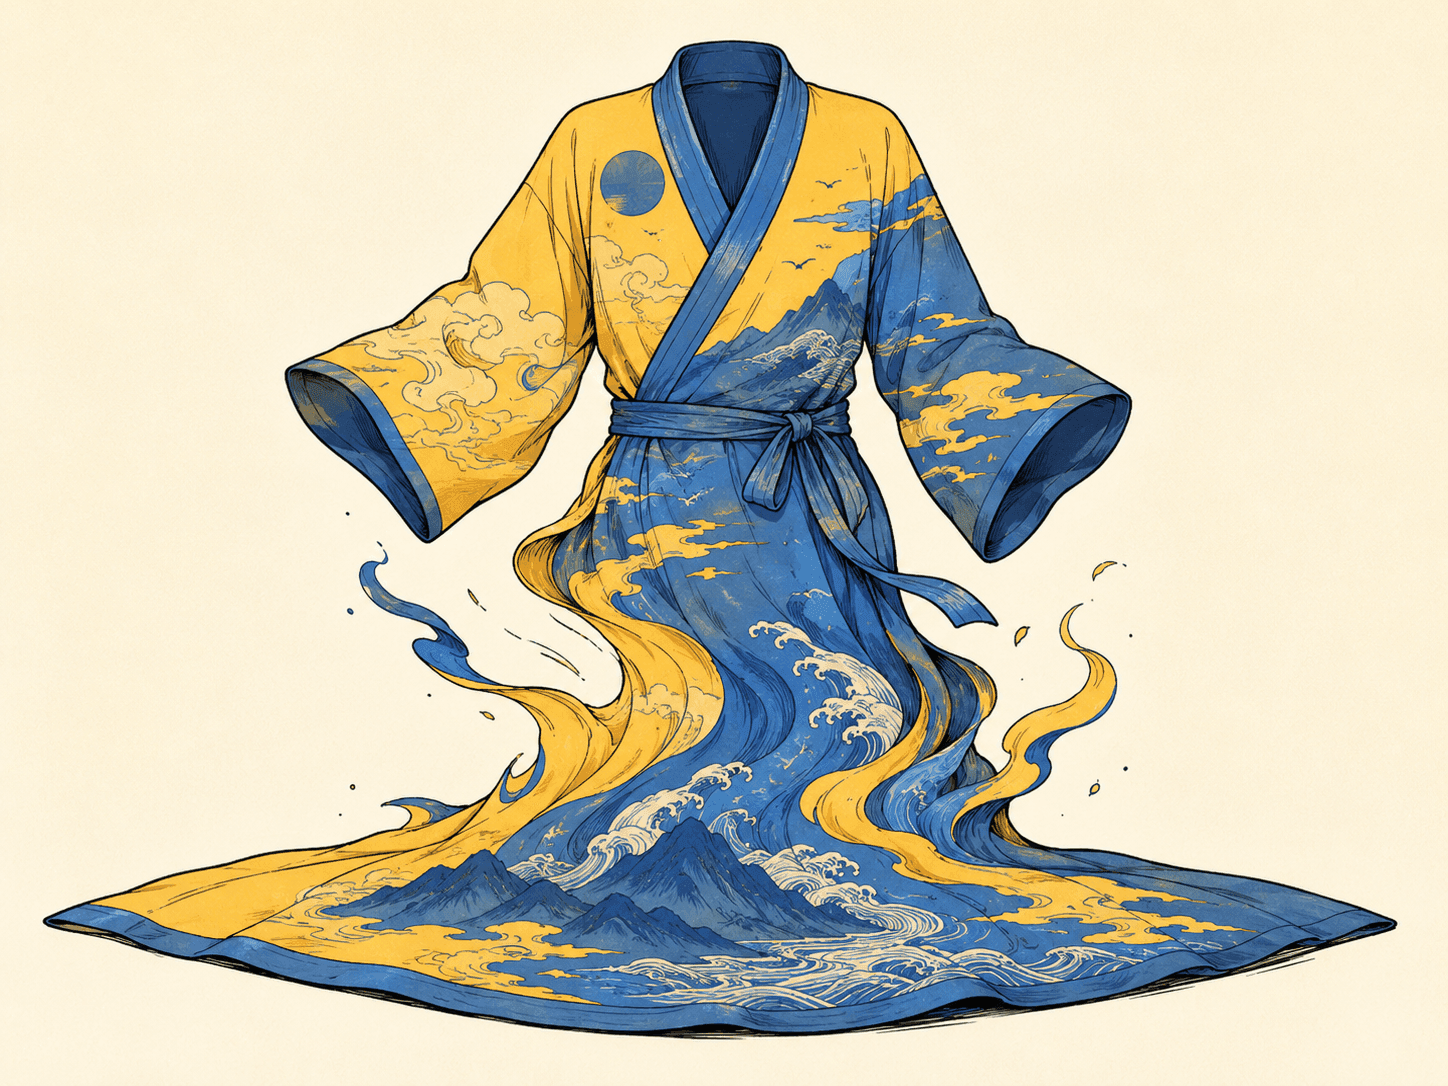
Dresses
Lead model shot (front), then model shot (3/4), then ghost mannequin for hem detail. Movement matters more than construction here.
Activewear
Same as dresses, model shots first. Add a fabric-detail shot at the end if you sell on Shopify (Shopify's gallery layout rewards detail shots).
Vintage / one-of-one
Lead ghost mannequin. Add a label/tag shot as image 2 (Label Scanner output works here). Add condition shots (if any flaws) as 3-4. Vintage buyers want proof of authenticity. The listing photos have to provide it.
Kids
Lead model shot on a child model. Always. Adult-model shots on kids' garments perform terribly. Buyers can't visualize fit.
What high-volume catalog teams do
Three patterns from the highest-volume Photo Studio workflows:
- Batch captures. 50-100 garments in a single flat-lay session. Then the AI runs in the background while they post. Average per-garment overhead: 90 seconds.
- Standardize the cover-image template. One ghost mannequin angle per category, locked. Inventory lookups are easier. Brand consistency is higher.
- Trust the descriptions. AI Descriptions takes the measurements + label data and generates platform-specific copy. Brands that edit minimally (under 30% rewrite) ship faster than brands that hand-write every listing.
For the deeper Photo Studio walkthrough (all the modes, all the controls), see the Photo Studio guide. The dedicated Ghost Mannequin landing page covers the invisible-mannequin mode in detail. Brands wanting to embed Photo Studio output in their own pipeline can contact our team about the SDK / API.