Why flat-lays decide your measurement accuracy
Size AI's measurement engine is calibrated for flat garments under even light. The app's accuracy spec, 3⁄16" – 5⁄8" (5–15mm) in ideal conditions, assumes the garment is genuinely flat. Wrinkled, slanted, or partially-folded garments break the calibration.
The accuracy gap between an average user and a power user isn't the model. It's the flat-lay.
The good news: getting a perfect flat-lay takes 90 seconds. Most fashion sellers are doing 3-4 things wrong without realizing it. This is the cheat sheet.
12 tricks for perfect flat-lays
1. Use a hard surface
Carpet absorbs the garment's natural drape and fakes a smooth shape. Hardwood, tile, or a lay-flat board gives the camera a clean depth reference.
2. Smooth the fabric outward, not down
Pressing fabric flat with downward strokes creates static folds. Smooth from the center outward in light strokes. The garment relaxes into the surface.
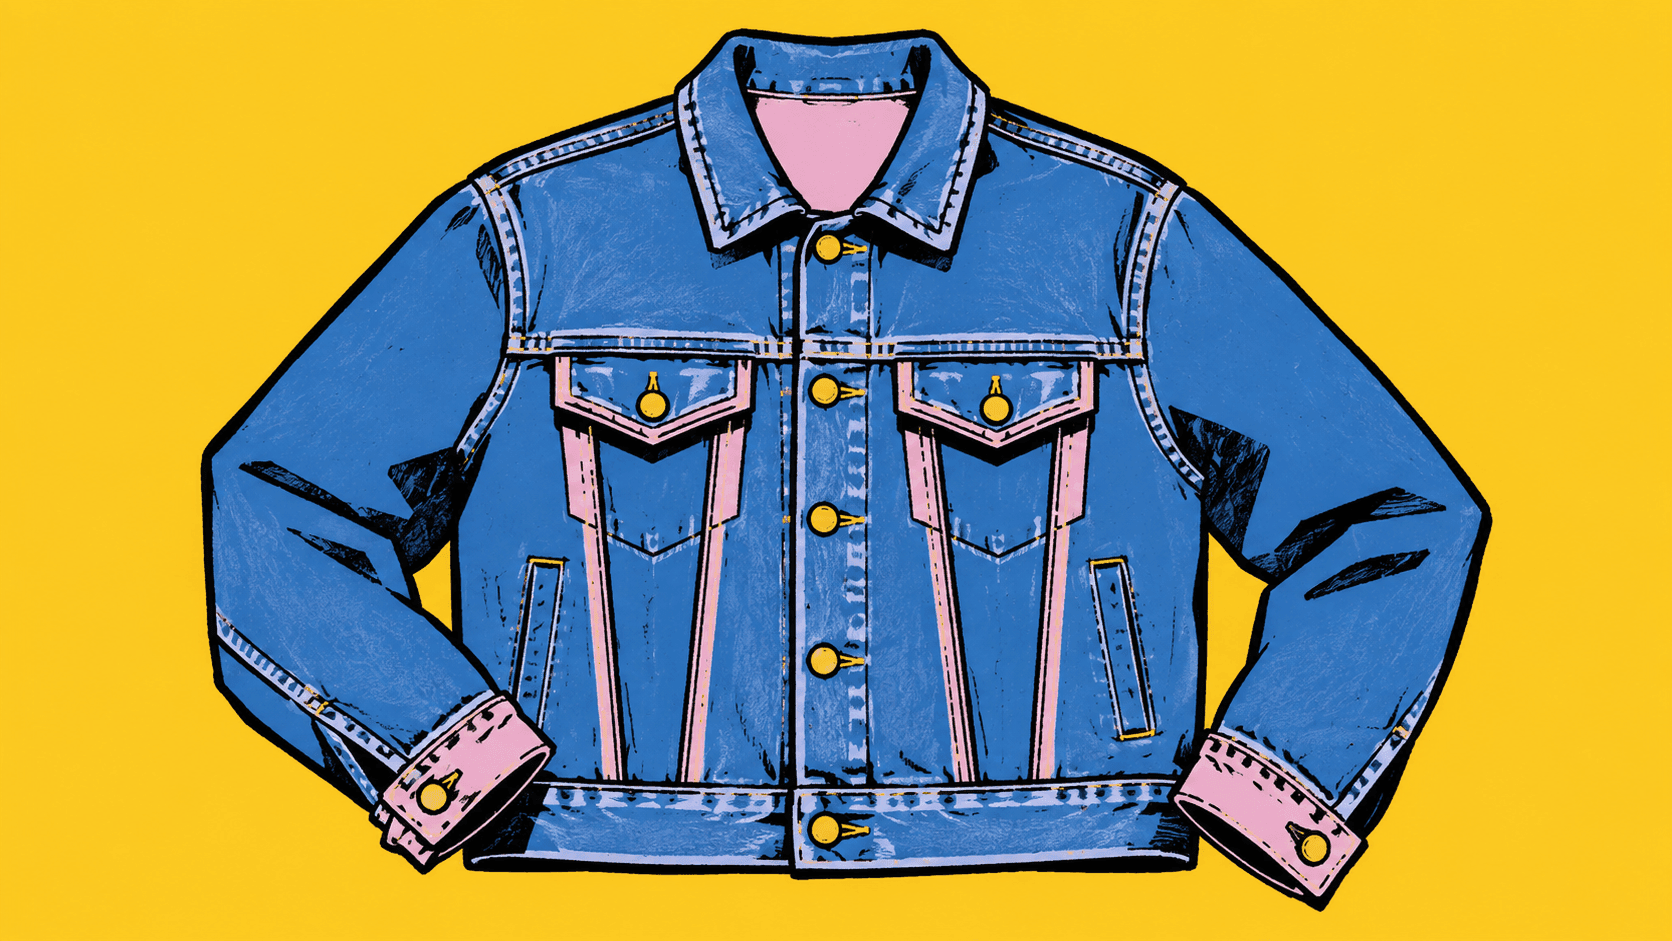
3. Button or zip structured garments
Open jackets and blazers measure differently from how they're worn. Closed garments give you the silhouette buyers actually see.
4. Align the inseam on pants
Even small inseam twists shift length measurements by 1-2 centimeters. Drag your hand down both legs and align the inner seam to the floor.
5. Stand directly above the garment
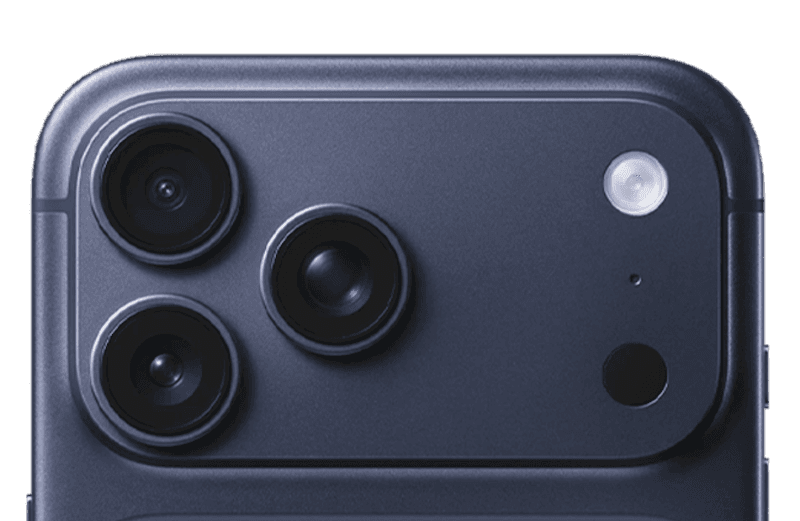
Crouching at an angle introduces perspective distortion. Stand vertical, hold the iPhone above the garment, look down at it like you're looking at a page on a desk.
6. Hit Precision Guidance
The app shows real-time angle indicators. Wait for green on all three (angle, distance, lighting) before tapping capture. This single step is the biggest accuracy lift on the list.
7. Use background contrast
Light garments on a dark surface, dark garments on a light surface. The edge-detection model leans on contrast. Even slightly mismatched backgrounds shift keypoints by a few pixels.
8. Keep the entire garment in frame
The model interpolates from edges. If the hem extends beyond the frame, the system has to guess where it ends. Step back until the whole garment is visible.
9. Skip mixed lighting
Daylight + overhead bulbs create color casts that confuse the segmentation model. Pick one. Daylight is best.
10. Iron heavy fabrics
Cotton, denim, and canvas hold creases. A 60-second pass with an iron eliminates measurement error from wrinkle shadows. Lightweight fabrics (jersey, silk) usually self-smooth.
11. Verify keypoints after capture
The app shows measurement arrows immediately after capture. Look at them. If a chest or waist arrow is sitting on a wrinkle instead of the actual edge, retake. Retaking is faster than editing.
12. Use the precision editor for small fixes
For a single misplaced arrow on an otherwise good capture, the in-app precision editor lets you drag the keypoint to its correct position. This takes ~10 seconds. For two or more misplaced arrows, retake.
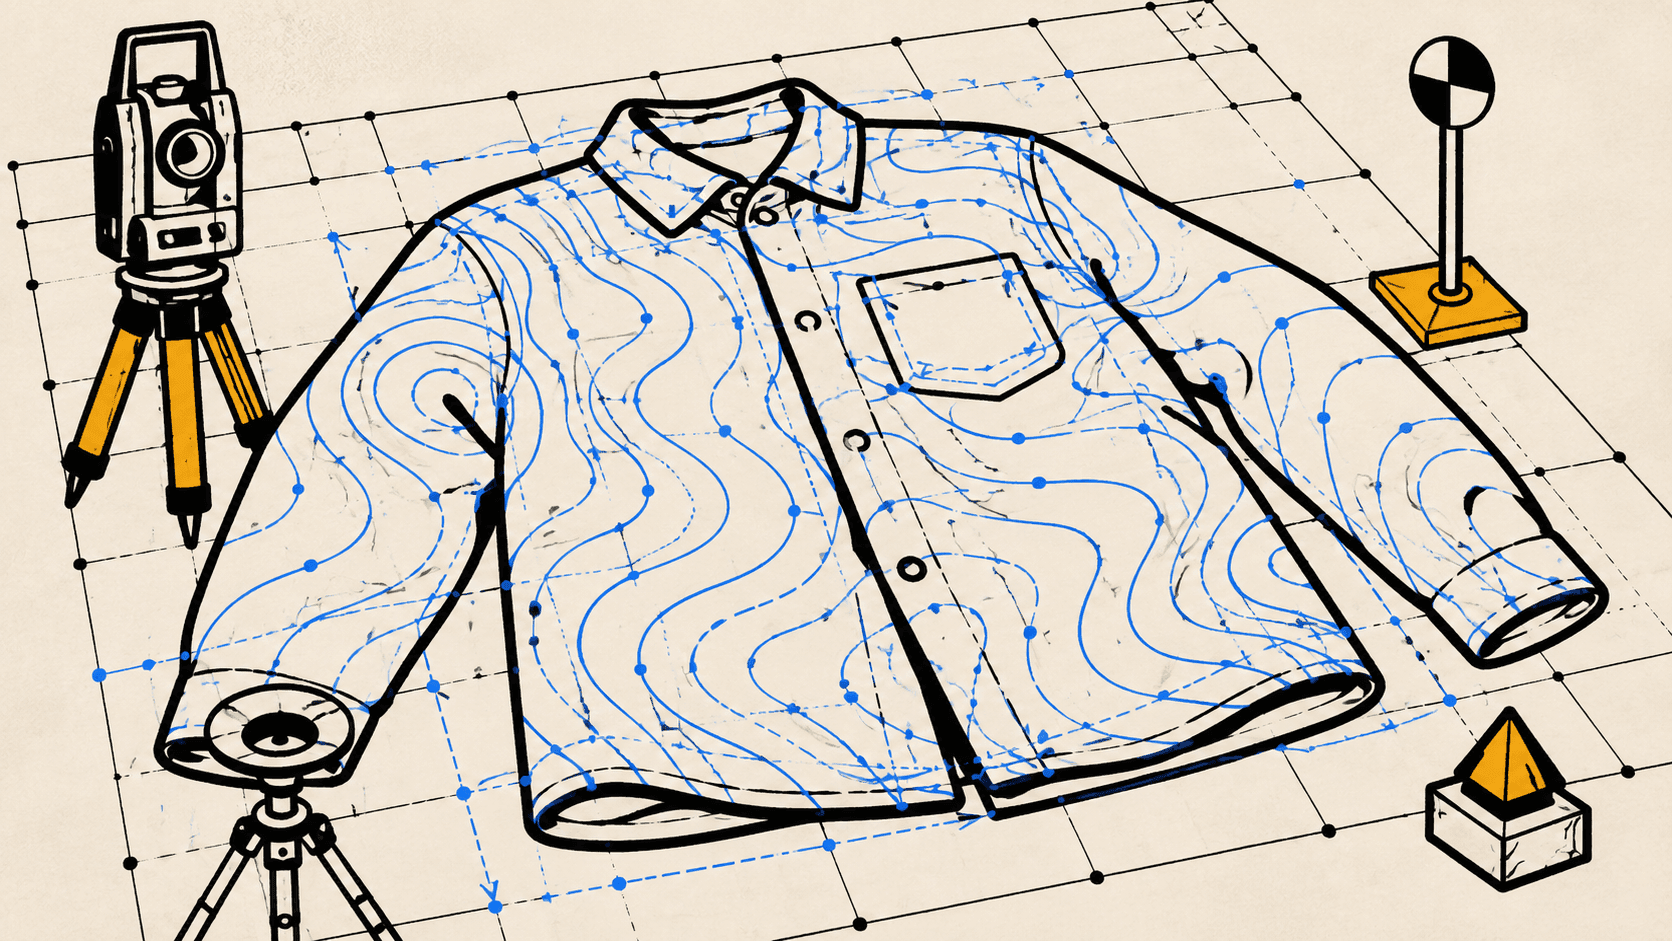
What the model is actually looking at
Three things, in order of weight:
- The garment's outline against the background. Contrast > everything else.
- The depth map from LiDAR. Wrinkles and folds show up as depth noise. The model has to disambiguate fabric stack from garment edge.
- The fabric's surface texture. Texture cues help the model identify panels (collar, cuff, pocket, hem).
If a flat-lay nails contrast and minimizes wrinkles, the other two factors matter less. That's why these 12 tricks center on those two variables.
The one thing most fashion sellers skip
Verification.
The post-capture review screen shows every measurement arrow overlaid on the garment. Most users don't look at it. They tap save and move on. A large share of the accuracy errors we see in support tickets would have been caught by glancing at the arrows for two seconds before saving.
Glance, then save.
For the deeper walkthrough, including specific lighting setups and surface recommendations, see the full Capture Guide. The Precision Guidance feature referenced above ships in the Size AI iPhone app on every supported device.