
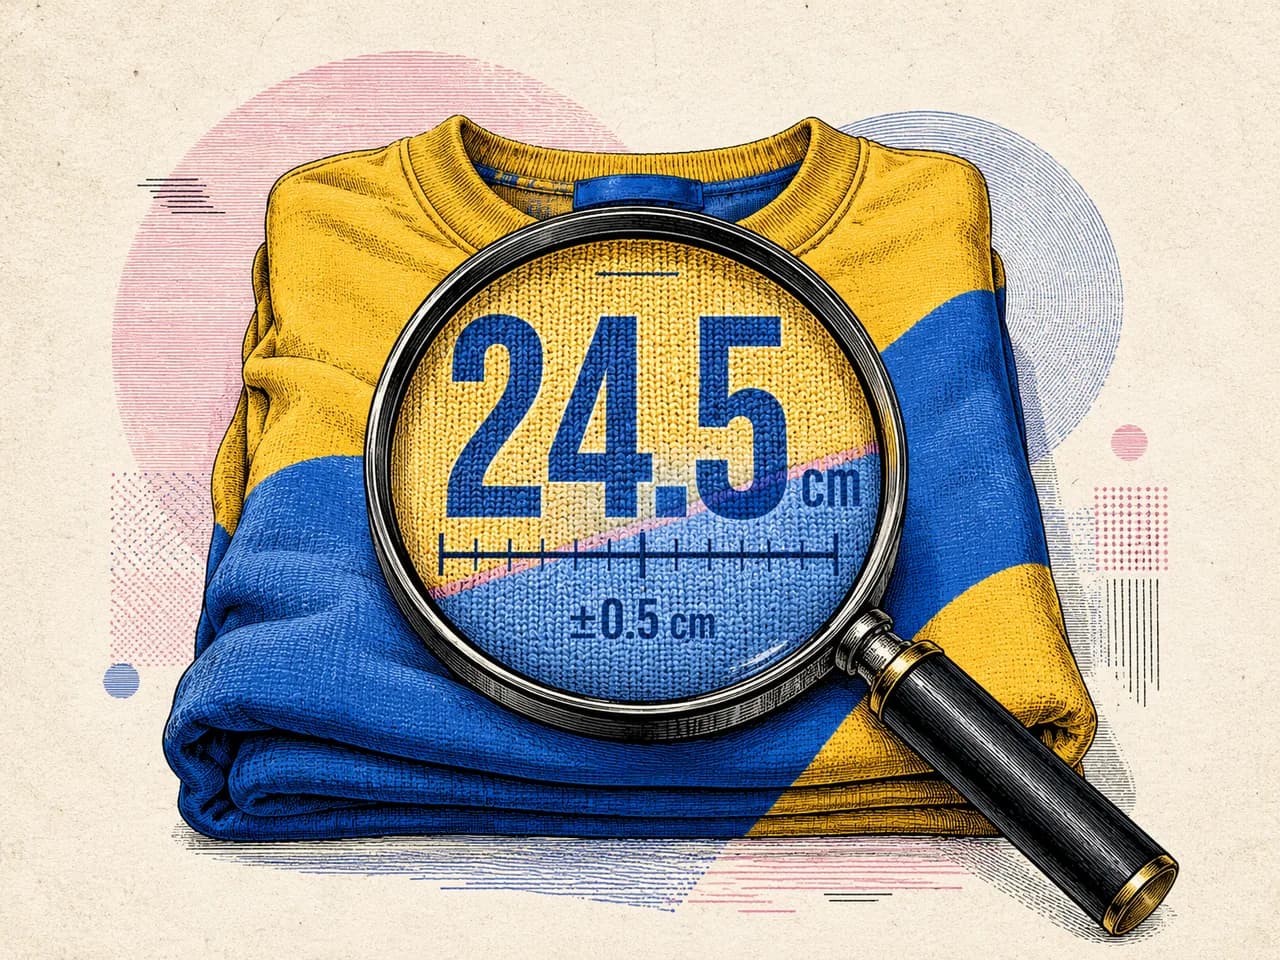
Garment inspection involves evaluating finished or in-production apparel against set quality standards, addressing workmanship, materials, labeling, packing, and measurements. Typically, this is done on a sampled basis rather than individually for each piece. Every sourcing office conducts these inspections, often using traditional methods like a tape measure, clipboard, and the inspector's judgment.
The argument presented here is that although the stages and defect classifications are satisfactory, the measurement step remains outdated, which quietly undermines the entire process.
What is garment inspection (apparel inspection)?
Garment inspection, also called apparel inspection, verifies that factory-made items align with the buyer's specifications. These specifications are detailed in the tech pack, and the sampled garments are inspected to assess this alignment.
Brands rely on inspections because the cost of defects increases with each production stage they survive. A mis-graded chest width detected inline incurs a correction cost at the sewing floor, while the same defect discovered by a customer results in a return, a review, and potential impact on future orders. Inspection is a cost-effective insurance against such expensive failures.
The economic value of inspection hinges on its trustworthiness. A checklist filled with unverifiable numbers is mere theater, not insurance.
The four stages of apparel inspection: PPI, DUPRO, PSI and container loading
Apparel inspection occurs in four stages, with the first three evaluating measurements differently. While most guides list these stages, they often omit details on handling measurement data at each stage.
| Stage | Timing | What gets measured | Typical basis |
|---|---|---|---|
| Pre-production (PPI) | Before cutting | Fabric width, weight, shrinkage test panels | Full check on inputs |
| Inline (DUPRO) | 10 to 50% of production | Key POMs on early units: chest, waist, length | Spot checks per line |
| Pre-shipment (PSI) | 80%+ packed | Full POM set against the spec, plus workmanship and packing | AQL sampling |
| Container loading | During loading, after the PSI passes | No garments measured: carton count, carton and container condition, seal | All cartons counted as they load |
The fourth stage, known as the container loading check, takes place once the pre-shipment inspection has passed, during the loading of cartons into the container. Here, the inspector verifies the carton count against the packing list, inspects the condition of both cartons and container, and notes the seal. At this juncture, no garment measurements occur, making the pre-shipment inspection measurement the final dimensional record before the goods exit the factory.
During the pre-shipment stage, sampling mathematics become important. The lot size determines how many pieces are sampled, and the agreed AQL establishes how many defects are acceptable.
AQL in apparel inspection: what AQL 2.5 and 4.0 mean, and how the sample is drawn
AQL, or acceptance quality limit, is defined as the worst process average a buyer will tolerate across a continuing series of lots submitted for sampling. In the apparel sector, AQL 2.5 for major defects stipulates 2.5 per 100 pieces as the worst average a buyer agrees to, while AQL 4.0 applies to minor defects at 4 per 100. Critical defects receive no tolerance, as a single critical defect in the sample results in lot failure.
This average is not a ceiling for the sample, as the accept number derives from a table, not from multiplying the sample by 2.5%. Thus, a 200-piece sample at AQL 2.5 can still accept up to 10 major defects.
Selecting the sample involves three lookups. The lot size and inspection level give a code letter, which then specifies the sample size. The AQL for each defect class provides an accept and reject number. General Inspection Level II is the norm for apparel pre-shipment inspections. Pieces are randomly selected from various cartons, not just the nearest open one, and each defect class is tallied separately. The lot passes only if each defect class remains at or below its accept number.
Level II plans from ANSI/ASQ Z1.4 (ISO 2859-1 equivalent), single sampling, normal inspection. Each pair reads accept / reject. The critical column shows the usual zero-tolerance rule rather than a table value.
| Lot size (pieces) | Code letter | Sample size | Critical | Major, AQL 2.5 | Minor, AQL 4.0 |
|---|---|---|---|---|---|
| 281 to 500 | H | 50 | 0 / 1 | 3 / 4 | 5 / 6 |
| 501 to 1,200 | J | 80 | 0 / 1 | 5 / 6 | 7 / 8 |
| 1,201 to 3,200 | K | 125 | 0 / 1 | 7 / 8 | 10 / 11 |
| 3,201 to 10,000 | L | 200 | 0 / 1 | 10 / 11 | 14 / 15 |
| 10,001 to 35,000 | M | 315 | 0 / 1 | 14 / 15 | 21 / 22 |
A more stringent AQL decreases the accept number for an identical sample size. At AQL 1.0, an 80-piece sample for a lot ranging from 501 to 1,200 pieces permits 2 defects and rejects at 3, compared to 5 and 6 at AQL 2.5.
To determine exact sample sizes and acceptance numbers for an order, our AQL calculator provides direct readings from the ANSI/ASQ Z1.4 tables.
Garment inspection checklist: the seven points
Professional checklists typically include seven checkpoints:
- Quantity and assortment against the packing list
- Workmanship: stitching, seams, trims, loose threads
- Measurements against the spec sheet, per size, within tolerance
- Fabric and color: shade matching, hand feel, visible defects
- Labels and compliance: fiber content, care symbols, country of origin
- Packing: fold, polybag, carton markings, moisture
- Function checks: zippers, buttons, snaps, stretch recovery
Defects are categorized as critical, major, or minor, and counted against AQL acceptance numbers. The emphasis of this article is on checkpoint three, as it is the only checkpoint where results depend on the individual performing it.
Defect classes: critical, major, minor, and the 4-point fabric system
Each defect found in the sample is categorized into one of three classes, each tracked against its own limit. Buyers develop their own defect lists, so examples vary between manuals, but the classes are defined by their impact.
| Class | What it means | Example | Typical apparel limit |
|---|---|---|---|
| Critical | A safety or legal risk | A broken needle fragment left in a seam | None accepted: one critical defect fails the lot |
| Major | Likely to cause a return or make the unit unsellable | An open seam, or a measurement out of tolerance | AQL 2.5 |
| Minor | Cosmetic, doesn't affect use | An untrimmed thread end | AQL 4.0 |
Notice where measurement sits. A chest width outside tolerance is a major defect, in the same class as an open seam, because the customer notices immediately when wearing the garment. Whether that defect gets counted depends on a tape number no two inspectors repeat.
The 4-point fabric system
The 4-point system, which assesses fabric rather than finished garments, is applied to incoming rolls before cutting, thus falling under the pre-production stage. It is standardized in ASTM D5430. Inspectors unroll the fabric on a table, assigning points to visible flaws based on length.
| Flaw length | Points |
|---|---|
| Up to 3 inches | 1 |
| Over 3, up to 6 inches | 2 |
| Over 6, up to 9 inches | 3 |
| Over 9 inches | 4 |
No single linear yard collects more than 4 points. To compare rolls of different lengths and widths, the total is converted to points per 100 square yards: total points × 3,600 ÷ (yards inspected × cuttable width in inches).
An often-used acceptance threshold is 40 points per 100 square yards, although each buyer sets its own limit.
The measurement step is the weakest link
An easy test can be conducted within your operation: give the same garment and spec sheet to two inspectors separately and compare their POM grids. Discrepancies will arise, especially with knits, exceeding some tolerances.
An inspection number that can't be reproduced isn't a measurement. It's an opinion with units.
Three structural issues plague checkpoint three.
Inter-inspector drift. Variations in tape tension, garment smoothing, and landmark judgment differ by inspector and shift. Consequently, the recorded number reflects these variations, making it difficult to determine which reading was accurate.
No usable records. Handwritten grids and photographed clipboards provide little resolution if a buyer disputes a shipment months later. The garment is gone, and the number cannot be recalculated.
Thin coverage. Measuring 6 to 10 POMs per sampled piece already makes this the slowest inspection station. There's no time for more, so the spec is verified at the edges and assumed elsewhere.
This process flaw can be resolved through measurement capture. Size AI measures a flat-laid garment in 0.92 seconds. The significance in inspection is not the speed. It's that the same garment consistently produces identical numbers across every station and shift, with a photographed, timestamped record per piece. Garments are already flat-laid during inspection.
The honest limit: with a typical accuracy of ~5 mm (about 1⁄5 in) with LiDAR, captured measurement is a consistency and screening tool. For buyer specs with tight tolerances, the tape still performs final verification. What changes is the pre-check process: pre-sorting incoming lots, screening for mis-graded pieces, and standardizing measurement across stations no longer relies on the inspector's touch.
The measurement step of a pre-shipment inspection, done with capture
Maintain the stages, AQL math, and checklist. Modify only how checkpoint three generates and stores its data.
- Capture the golden sample digitally. Transform the approved sample into per-SKU dimensional data rather than a paper grid, so the baseline stays relevant after the sample exits the facility. This data also informs the measurement spec in the tech pack.
- Screen before you sample. Conduct a rapid measurement pass on incoming lots to identify out-of-range pieces before formal AQL sampling, allowing sampled pieces to address more precise queries.
- Record every sampled piece. Document photo, timestamp, measurements, and station. If a shipment is disputed, resolution becomes a matter of retrieval rather than debate.
- Reserve the tape for what it's best at. Use it for final verification against tight tolerances on flagged pieces. Less tape work, more effective targeting.
No new inspection standards are needed. The measurement step must generate numbers that function as data: reproducible, attributable, and stored.
What to do next
Examine your last disputed shipment and consider the evidence you had. If it was merely a handwritten grid and a recollection, the issue is not your process but how numbers are handled in one checkpoint.
We work with QC, sourcing, and production teams on exactly this checkpoint: consistent garment measurement at the inspection table, with an auditable record behind every piece. Talk to us about a pilot against your existing inspection workflow.